Busking Equipment Guide (2022)

Hello there!
I hope this list of busking equipment will provide a point of reference for you and be useful in helping you decide what kind of equipment to get when you start busking :)
Things to note:
- I am a busker that sings and plays acoustic guitar, so this list may be more relevant to musician buskers.
- This post will also not cover instruments.
- I have added and removed items, tweaking my set-up over 30 busking sessions. This list is not about 'the best busking equipment ever' but more of just sharing what I use and what works for me. I've also provided some alternative items that are used by my fellow buskers.
- This post is an updated and more comprehensive equipment guide to my other post, Busking in Singapore.
1. Speaker/Amplifier
I bought my Roland Cube Street Ex for about $680 from Swee Lee back in 2017. The reach of the sound is really good!

The Cube Street Ex also sounds great indoors with minimal tweaking of EQ too. I also received feedback from a client that the sound quality is much more superior than the smaller Roland Street Cube.
2. Mic
Got a Shure SM58 microphone from Luther Music (Cityhall, Peninsula Shopping Centre). It retails at $149 now.
If you like to move freely while performing, consider going wireless like BuskingRobin!
 |
| Photo courtesy of Robin |
He is using the Samson XPDm Headset Digital Wireless System from City Music. Being wireless means you can interact more with your audience and makes your set extra fun and lively.
See Robin in action in his videos on Tiktok at @buskingrobin!
3. Mic Stand
I got my Bespeco mic stand at Luther Music too! It is sturdy and I have zero complaints.
4. Music Stand
I used to have a flimsy music stand which could not withstand the wind at all. Now I have a sturdy one with a full desk (right image) that I bought off Qoo10. However, it takes up quite a bit of packing space.


5. Rechargeable Batteries
I use Eneloop batteries. I believe you can get rechargeable batteries from Ikea too. Some buskers also use Amazon Basics and Energiser (Rechargable).
I use Eneloop batteries. I believe you can get rechargeable batteries from Ikea too. Some buskers also use Amazon Basics and Energiser (Rechargable).
 |
| My dad told me to mark the batteries and try to use them as a set. |
💡TIP: Always fully charge your batteries before a show. Sometimes I only busk for 1h~ and the Cube tells me I have more than half of battery juice left. However, the next time I use it, the sound quality drops a lot. So much for not wanting to be wasteful. I learned this the hard way!
6. Charger for batteries
My old Nitecore charger gave out, so I purchased a new one that costs about $10-20 from Shopee. I couldn't find the seller I bought from, but my new unit looks like this.

The display sometime goes out but it charges batteries fine so far. The Cube Ex uses 8 batteries so this is very time saving and convenient for me, as compare to a 4 battery unit.
You can also try the Eneloop 4 AA Battery Charger from Shopee. I heard that it charges super fast!
You can also try the Eneloop 4 AA Battery Charger from Shopee. I heard that it charges super fast!
7. Torchlight or music light
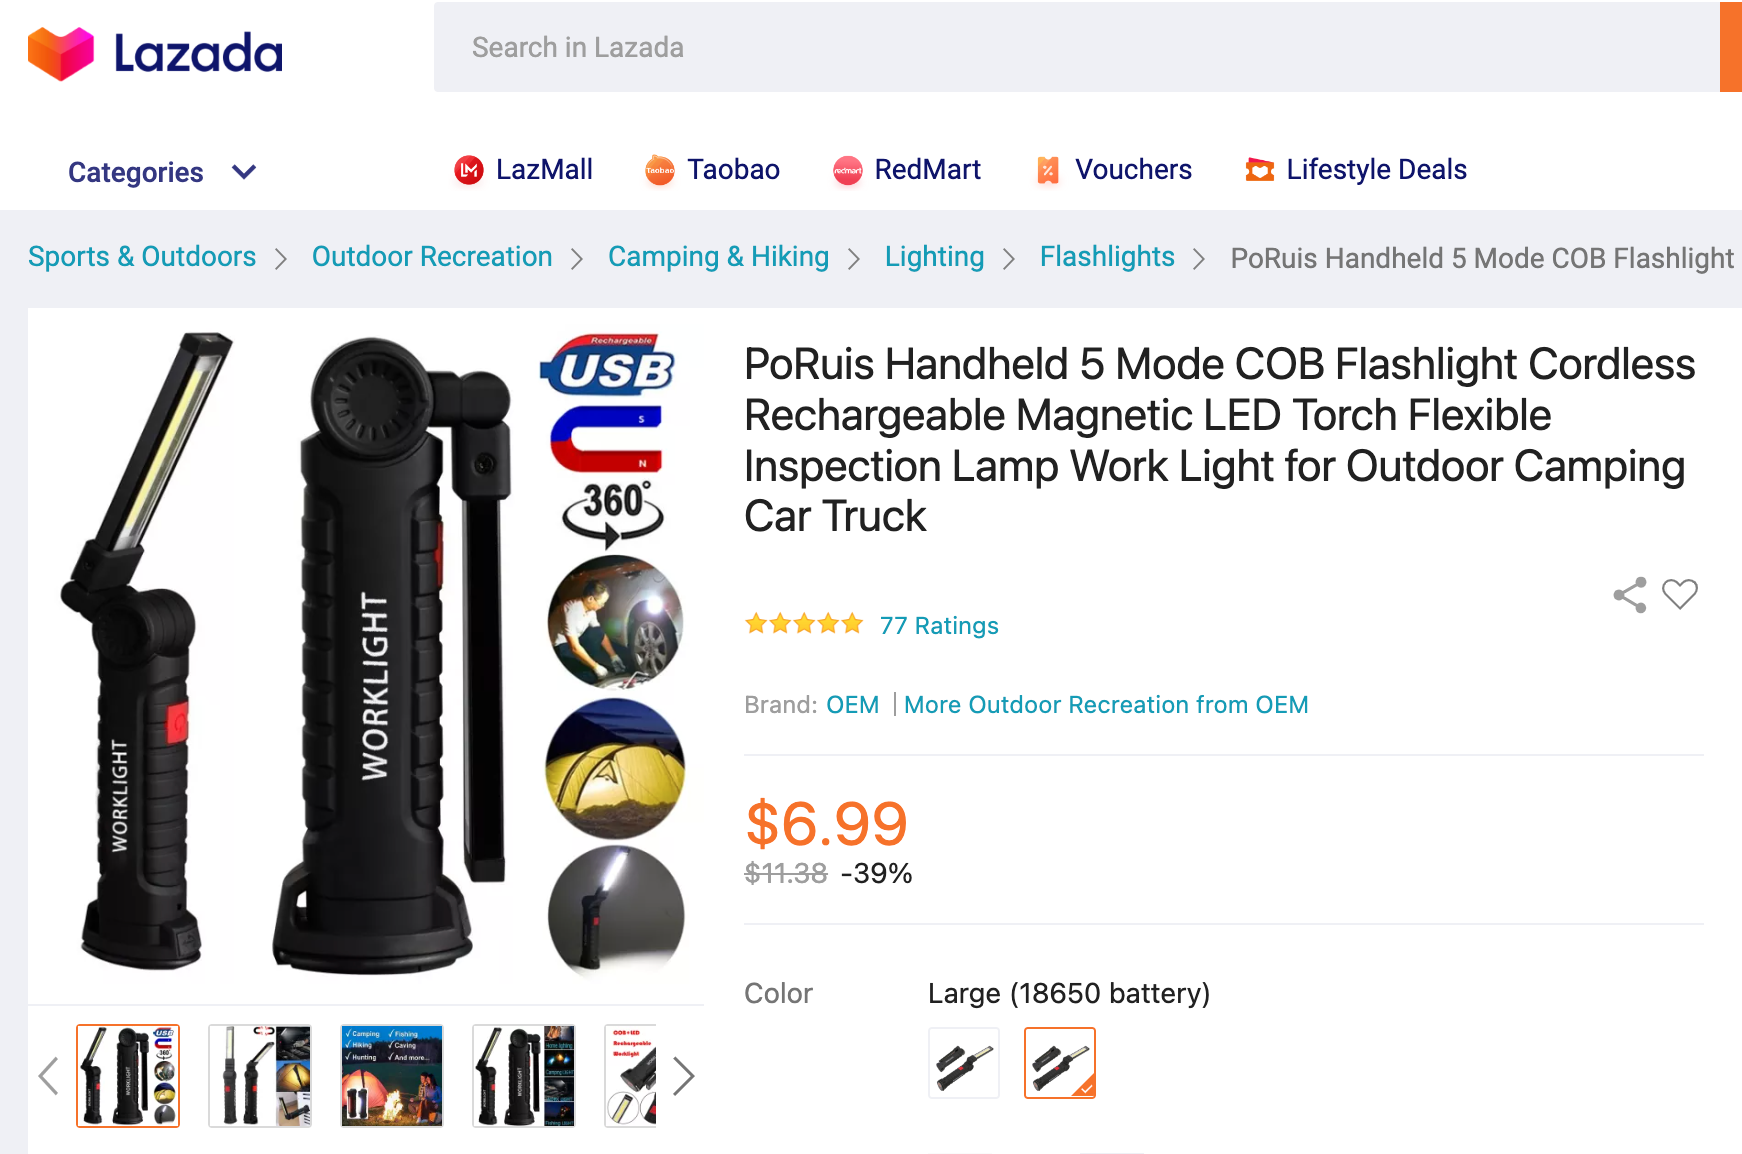
I prefer using paper scores to an iPad, so I require a light to perform at night. Hence, I got this large torchlight off Lazada. The decision was made because the traditional music stand light was kind of expensive at $20-50.
In comparison, this $6.99 one is not only much cheaper but also has a magnetic base so it sticks to my metal music stand, which gives me more flexibility. It is charged by USB and has three modes of light! Bright, less bright, and a small light from the front.
In comparison, this $6.99 one is not only much cheaper but also has a magnetic base so it sticks to my metal music stand, which gives me more flexibility. It is charged by USB and has three modes of light! Bright, less bright, and a small light from the front.
💡TIP: I like to set up my music stand and torchlight first when unpacking my stuff in dark locations so I can see better.
8. A trolley
Some people use luggage to transport their gear but I opted for an APEX metal trolley from Qoo10. I think it cost me about $60 - 80, but has so far it has lasted me for 5 years! They also have plastic base options which is much lighter.

The metal trolley is quite heavy but it is hardy. Some people also use the more lightweight, foldable kind of trolleys, ranging from the ones you bring to the grocery store, flatbed trolleys and also wagon types from Decathlon. It's really up to you and it depends on the amount of gear you have to bring out.
If you are using a Cube Street Ex, it is also possible to fit it in a large luggage, as some buskers do.
9. Big Duffel bags
I have two hardy duffel bags bought from Lazada. I used to only have one and placed the music stand and mic stand separately, but having just two bags (+guitar) have really helped streamline the transportation and loading process since I usually cab to my locations due to all the barang barang I have.

My Medium Duffel (60 litres) and holds:
- Cube Street Ex
- Mic
- Guitar cable
- Mic cable
And my Large Duffel (120 litres) holds bulkier items:
- Two light boxes
- My A4 PayNow sign
- Music Stand
- Mic Stand

L sized duffel makes transporting bulky items easier!

*EXTRA* (Because I do livestreams)
- Ring light tripod for phone
- Streaming Banner
- Streaming Tripod
10. Money box / QR option
When I first started out I used to use my guitar bag as a receptacle for tips. However, it's a bad idea because my guitar bag is shallow and floppy, which meant that money tended to fly away.
I decided to decorate a cardboard box instead! I made it as eye-catching as I could. This box is great because it is tall and can be dismantled easily. I use cable tape at the bottom to secure it when it's in use.
I also tape my busking card on one side since NAC stipulates that the card must be prominently displayed.
 |
| My colourful box! |
Other choices: Apart from guitar bags, I have seen buskers use tissue boxes, plastic containers (like the ones used to store CNY goodies) or even foldable laundry bags.
I also highly recommend a QR or PayNow sign as a tips option as not everybody carries around loose cash. Here's my A4 sized PayNow sign in an Ikea photo frame.
I also highly recommend a QR or PayNow sign as a tips option as not everybody carries around loose cash. Here's my A4 sized PayNow sign in an Ikea photo frame.

Now that we have the technical essentials out of the way, it's time to get fancy.
1. Light Boxes
If you have a day job like me, chances are you usually only busk at night after office hours. Some busking locations are not very well lit, so light boxes are really useful if you want to get your brand name out there. After all, audiences want to know who you are.

If you have a day job like me, chances are you usually only busk at night after office hours. Some busking locations are not very well lit, so light boxes are really useful if you want to get your brand name out there. After all, audiences want to know who you are.

I bought two from funkysg on Shopee. I remember that these used to cost like $40 ish a few years ago, but now they're only about $12-15! These also came with cute coloured emojis.
💡TIP: Each box comes with a set of alphabets, so two sets gives you more vowels etc which can be useful. In the event that you are still missing a letter or number, get a clear piece of hard plastic (say from battery packaging) and write your own missing letter with marker. Works in a pinch! To make it extra neat, just overlay your plastic on existing letters and trace it.
These light boxes can run on 6 AA batteries or be plugged in. I managed to get one of the boxes running on just 3 batteries, as 12 batteries + another 8 on the Cube is kind of annoying.
💡TIP: At first I thought these light boxes wouldn't need frequent changes of batteries, so I went to Valu$ and happily bought cheap Ever Ready batteries. Well, you probably guessed it. After one use all my 12 batteries were drained and felt strangely light. It was so bizarre. Lesson learnt. Use better batteries, and best if they are rechargeable.
2. Fairy lights
Once again, these pretty lights help to attract attention at night. If you place them on the ground, they help to demarcate your space. My fairy lights were a gift from a friend and run on USB! I connect them to a Xiaomi portable charger. There are many options, including colourful ones, available cheaply on Shopee. There are also soft wire types and plastic tubing types.
💡TIP: To keep your (soft wire) fairy lights organised and untangled, loop them around a piece of cardboard with small slits. It will save you a lot of time and pain when setting up.

Other cool set-ups and ideas I've seen on the streets:
- A1 sized signboard
This is really useful in attracting eyeballs to your social media. Consider getting a sturdy tripod stand for this so it will not fly away. - PVC/ Canvas signboard

Photo courtesy of Firdaus
I really like @fyrdauzmacbeth's roll up banner!
I find this banner even better than the A1 foam board because it can be stored easily. You can hang it on your mic stand or music stand - like Firdaus does! A big plus is that it will not threaten to bend and break like foam boards, and is so much more lightweight than whiteboards, easels or chalkboards too! - Also, check out Jeremy Han's (@mrjemhan) all-in-one busking setup with a mic stand, iPad holder and even a water bottle holder! Absolutely fantastic.
💡TIP: The more compact your equipment is, the better. It also means you can take public transport too (best during non-peak hours). I don't think large trolleys like mine are allowed up the MRT or bus.
Photo courtesy of Jeremy


Signing off...
I hope this guide was useful in helping you think about your busking set-up. Remember, this list is just a guide and there are still plenty of wonderful ideas and options out there. All the best in your busking journey!
Do you have a busking set-up you'll like to share? Leave a comment below!
Love,
Skye
Update 2023: I have since opted to travel lighter and have switched to an ipad holder as well as a large 28inch luggage, doing away with the music stand and metal trolley. This new travel set-up helps me get onto cabs or public transport more easily as there are less loose pieces to move around. Definitely more efficient in both time and money.
Comments
Post a Comment